Custom Jewelry Design Process
Mass-produced jewelry is designed to appeal to a wide base of people while maximizing profit. At Ambrosia, we encourage and support our clients to custom design the jewelry they always dreamed of and nothing less. Since we do not charge a design fee like other jewelry stores, there is no extra cost for custom designing your jewelry with us. The value of your design is based entirely on the materials, number of diamonds and quality of gemstones that you hand select. Together we can custom design a stunning piece of art within a budget range you feel comfortable with.
Every piece created by Ambrosia is designed, cast, set, and finished using the latest technology, in combination with techniques from years of experience. With Ambrosia you receive handmade jewelry that is superior in quality and craftsmanship with dependable service compared to anything you may find off the shelf.
|
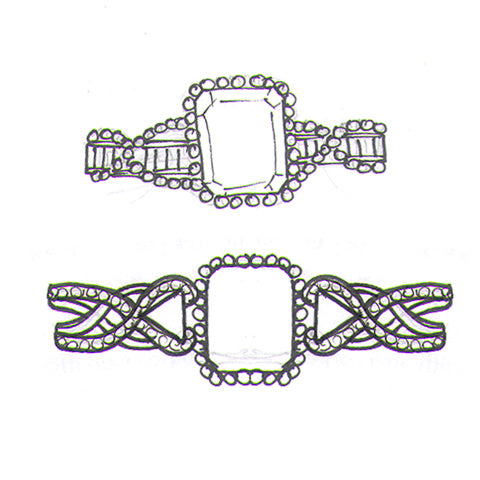
1. INSPIRATIONWhen designing custom jewelry, it all begins with a spark of imagination. Ambrosia can easily transform your simple napkin sketches into a detailed hand illustration.
|
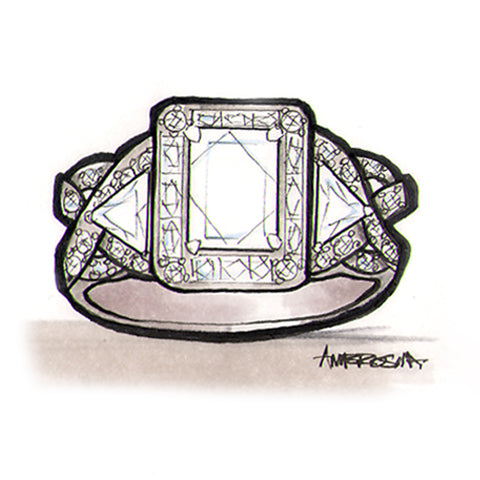 2. SKETCHWhile working with Ambrosia, you are given a detailed hand drawing of your custom jewelry. We provide a couple of design options and suggestions until we find the perfect design.
|
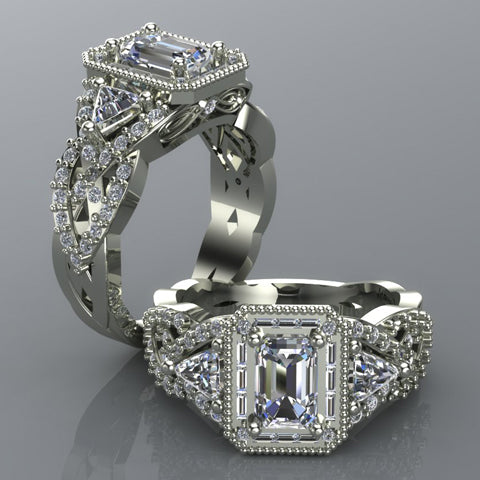 3. 3D MODELINGAmbrosia uses the most advance, state of the art computer design software. Our jewelry artist hand builds your custom jewelry piece by piece into a 3D modeling program. On average, one model can take 8-36 hours to complete. During your design meeting, you are able to view the jewelry from every angle, change the metal color and even make small adjustments right before your eyes. With our detailed computer renderings you can rest assured that your designs will look exactly how you envisioned.
|
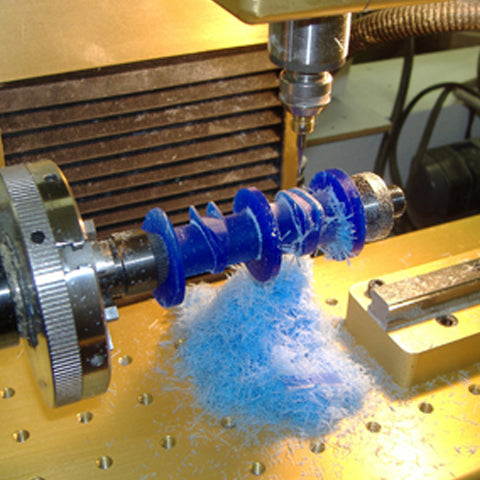 4. PRINT OR GROWAfter the design is finalized, the computer file of the 3D model is transferred to a milling machine to cut out a wax model or a 3D printer will grow an exact replica of the jewelry. Depending on the complexity of the design will determine what equipment to use.
|
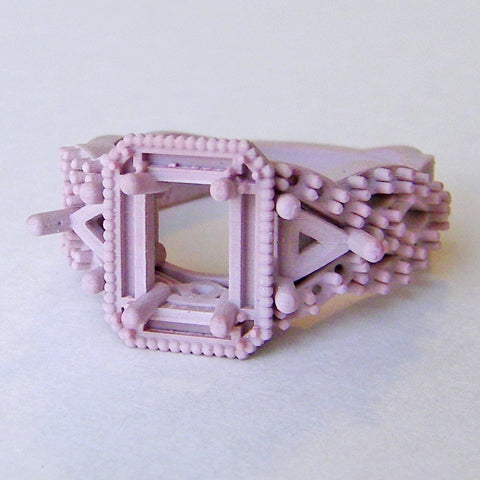 5. WAX MODELUpon request, the wax replica can be reviewed with our clients. But it must be handled carefully as we use it for our next stages of casting. These wax models are slightly harder than candle wax, but still very fragile. Every opening and all prongs for the diamonds or gemstones are created. Even small engraving is visible on the wax model.
|
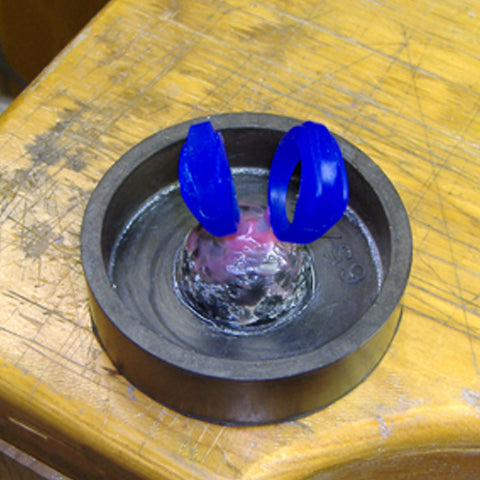 6. PREPARATIONThe wax model is now prepared for casting. A wax stick is attached to the base of the model creating a 'spur.' This allows the jewelry to be attached to the black rubber base and without touching other jewelry items.
|
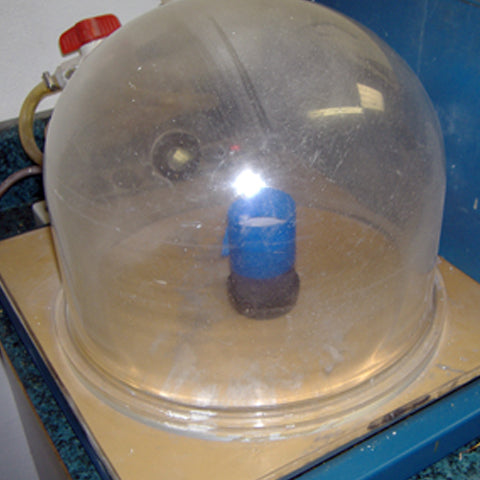 7. NEGATIVE MOLDAfter a tree is prepared, it is placed into a metal cylinder to create a mold for casting. A plaster-like material, called investment, is poured into the flask and covers the entire wax tree. This will create a negative mold and in a couple of days it will be ready for casting.
|
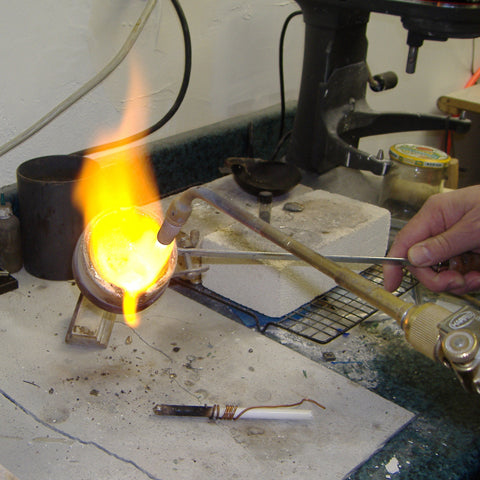 8. CASTINGAfter the investment hardens, it is placed into a kiln to cure. Gold is melted at extreme temperatures and poured into the flask opening. The flowing gold will disintegrate only the wax model and fill all areas where the wax once was.
|
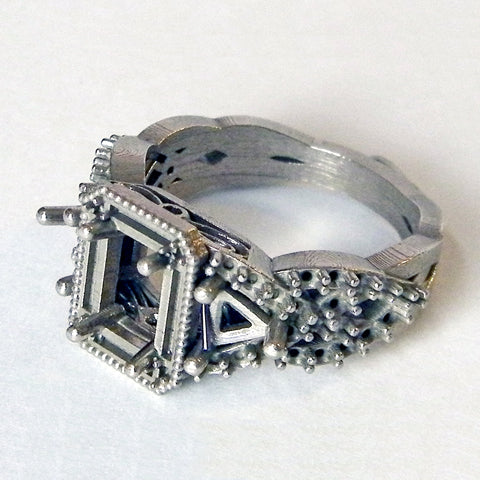 9. RAW JEWELRYAfter the flask cools, the investment is broken away and the jeweler is left with a dull, dark colored setting. It isn't very attractive until it is processed through many hours of hand sanding, grinding and several stages of polishing. Ambrosia polishes all surfaces and prongs before setting diamonds and gemstones to create a mirror-like finish.
|
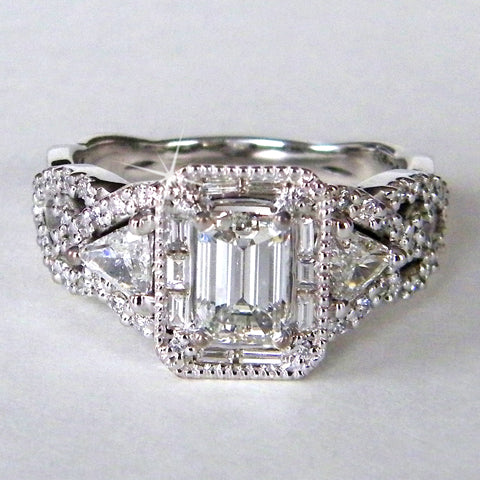 10. COMPLETIONAfter the ring is completely polished, our master jewelers set each diamond and gemstone by hand. The ring is processed through a final stage of polishing and ultrasonic cleaning. For all white gold jewelry, we complete a 10-step process of Rhodium plating to give a bright chrome-like finish which last longer compared to other jewelers. |
As you can see, we dedicate a lot of time and attention to designing, handcrafting and fabricating our Ambrosia Jewelry. Most of our custom designs require 6-8 weeks to complete from start of designing process to finishing of setting the stones. We believe that you can't rush beauty.
If you have a design in mind or are looking for design assistance, we invite you to contact us and schedule a private design consultation to answer any questions and receive a free estimate.


